
First, you have to get all of the essential egg dying items:
1) Eggs. I recommend getting 2 dozen that way if you (or the kid) screw up you have plenty more eggs at hand. They should be hard boiled (NOT almost hard boiled). NOTE: Attempting to have a 2 1/2 year old blow out egg yoke is not a good idea.
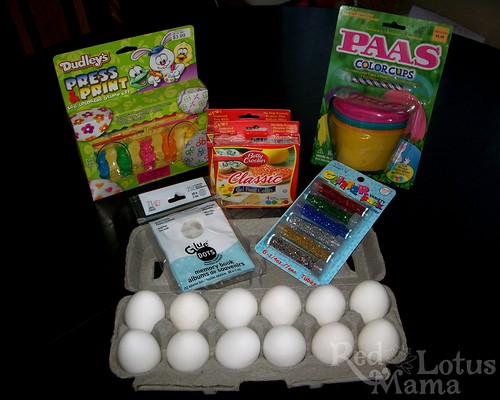
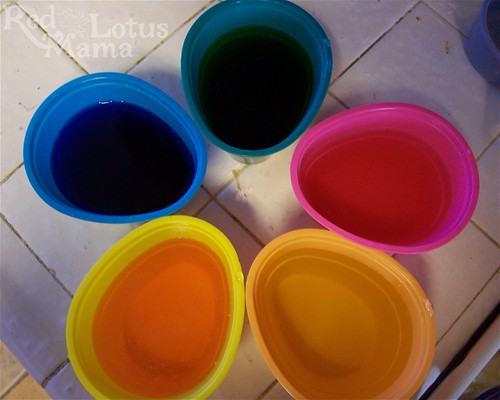
2) Food coloring. I love the PAAS Color Cups. It comes with all of the essential and Little 'Ny likes using the cups later for sorting.
3) Decorating kits ... but, I don't recommend the stamps or paint rollers. They suck and make a sticky mess. Stickers or EggArounds are MUCH easier.
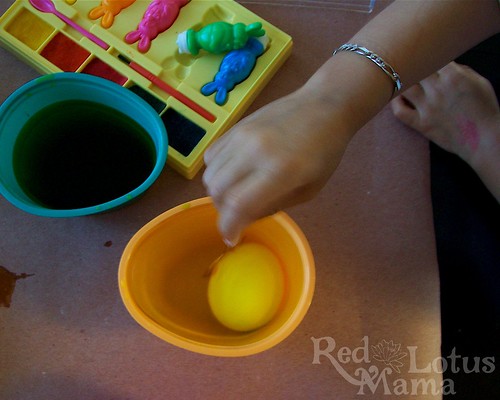
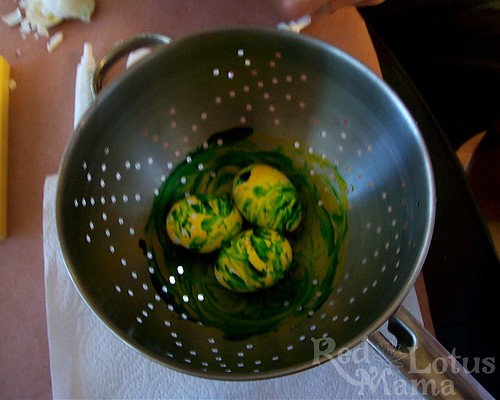
4) Vinegar and a McCormick food coloring. I wanted to try making tie dye eggs. They looked so pretty in the picture. And mine would have been too, but the food coloring I bought was in a gel form (what a mess) and I forgot to splash the eggs with vinegar so that the dye would actually set into the egg shell. At least Little 'Ny had a good time swirling the eggs around and seeing the colors mix.
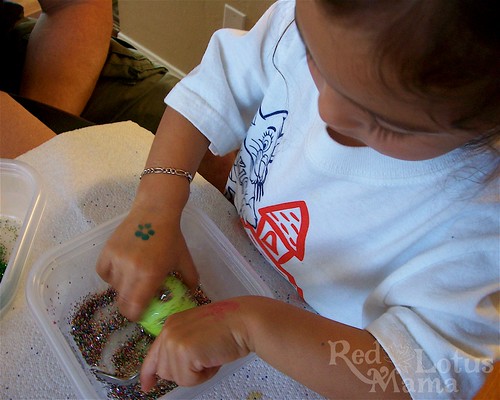
5) Glitter (or colored sand) and glue dots. I found a new idea of creating glitter dots on an egg. It was extremely messy, but nothing a dust buster couldn't fix. Plus, Little 'Ny had a great time with the glitter. Next year, I might substitue this with PAAS Color Snaps!
I am unable to provide a finished product photo. But, I got side tracked with the cupcake decorating (that post to follow). Then, the eggs were taken to Grandma's house for Easter brunch and I totally forgot about taking a picture. Oh well ... it was really the egg
No comments:
Post a Comment